Uncategorized
The Typical Workflow for a Kitchen Renovation
By Tiffany Smolick
As a New York City design and remodeling business, we have gained a lot of principles on what to do and what not to do when remodeling. Several principles we have gathered along the way can benefit homeowners as well. If you’re considering remodeling or renovating the kitchen in your home, remember that what you do during your renovation project is just as important as what you don’t do.
Understanding the perspective of a general contractor can give you a full picture of how your project will be executed step by step. You should definitely always know the workflow of your projects. To help you, below you will find the typical workflow for a kitchen renovation in the NYC area.
Step #1: Select Your Contractor
Many companies charge you for the initial consultation. At MyHome, we see this as the beginning of our relationship. Whether you know what you want or you’re still thinking it through, our Remodeling Consultants will meet with you in your apartment or at our showroom and talk you through the process.

Step #2: Create the Design
MyHome is not only a general contractor, but we are also a full-service design and renovation firm. We provide complete apartment renovation, so we are a one-stop shop for design, materials, and installation. We will work with you using remodeling software that will turn your design ideas and concepts into reality. You will even see your new design in a rendering, which is a visual or technical drawing of your design.
Step #3: Select and Order Materials
Once you are satisfied with your overall design, we will order the materials.
Step #4: Building approval
With the exception of private houses and some small brownstone buildings, the first step to getting your renovation project going is to have your building’s owner’s association or management company assess and approve your renovation or remodeling plan.
Step #5: Demolition
Once your project is approved by your building’s owner’s association or management company and all your materials have arrived, you can begin construction. However, before starting demolition of your project, you should be certain your details, plans, and specifications are completely worked out in clear-cut detail. Any ambiguity of any details is the foe of your budget and timeline. Furthermore, before any hammer hits any wall in your home, you and your contractor should have done a thorough walkthrough.
Step #6: Deliver Materials to the Apartment
If you purchase your materials though MyHome, we will handle the delivery from the manufacturer. Store your materials in our warehouse until your project is ready to begin for ease and convenience. We will also deliver all your materials to your apartment.

Step #7: Rough Electric
The first step is to layout the locations of all the electrical items on your plans, nail up all the electric boxes, drill the holes, pull all the wire, and make up the connections.
Step #8: Rough Plumbing
The rough plumbing means that the water supply and drain pipes have been run through the holes in the studs and that all pipe connections have been made. At this point, no sinks, faucets, or other fixtures are yet installed.
Step #9: Wall Preparation
Preparation is an essential step in any wall installation. The objective is to create a smooth and uniform surface on the wall for the tile to be evenly placed. Ensure that the wall and ceiling surfaces are dry and clean from any other contamination, as well as, repair any defects such as dents, nail holes or any imperfections.
Step #10: Subfloor Preparation
With proper subfloor preparation, your flooring installation will be more durable. It will also be easier and faster to install your new flooring. Preparation of the sub-floor is crucial to successful installation, as the foundation must be solid.
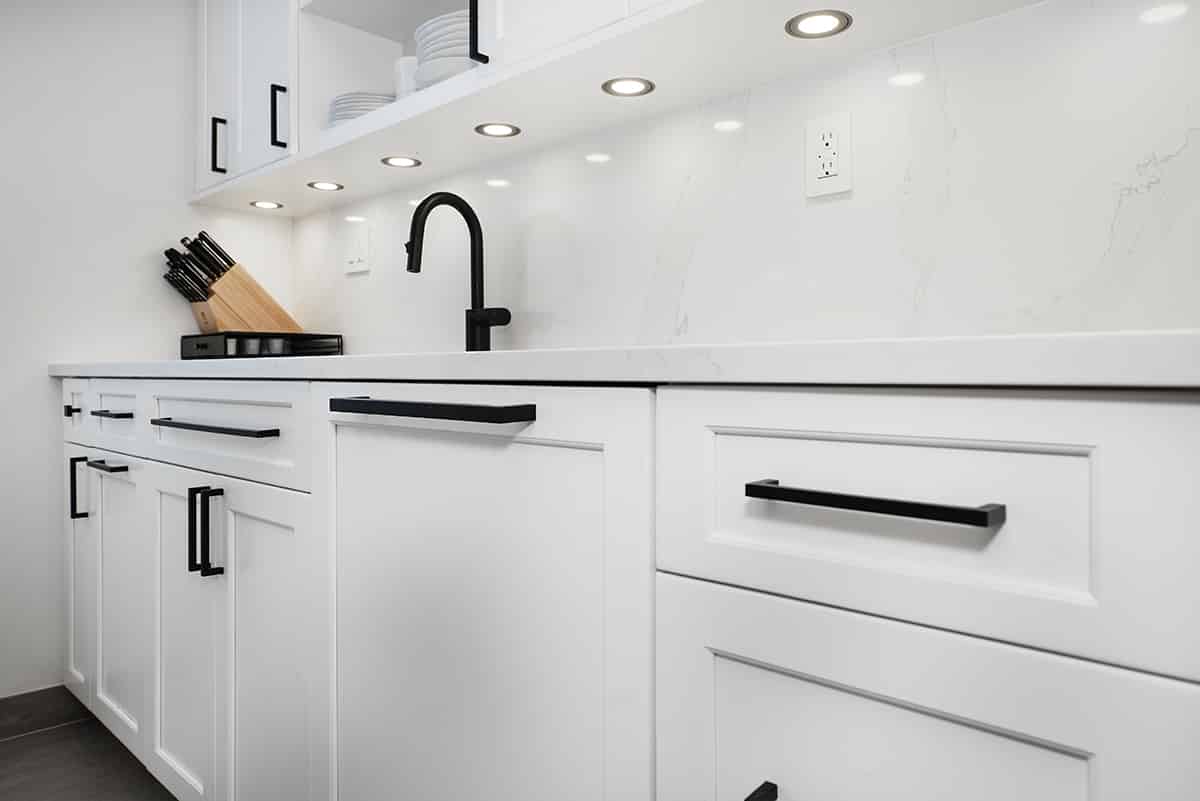
Step #11: Cabinet Installation
A high-quality cabinet installation begins with an effective layout. Your contractor should measure from the top of where the base cabinets will be to the base point of the floor. Explore many lines of cabinets from several manufacturers and artisans at our NYC showroom.
Step #12: Picking Appliances
With countless features, styles and new technology available, choosing the best appliances for your new kitchen can be overwhelming, even if you’re working with a designer or contractor. By this point, you should have established a design with your contractor. You should also conduct research before you shop so that you can ensure that you purchase functional, energy-efficient and stylish appliances.
Step #13: Priming and Painting
If you paint a wall for the very first time, and you don’t use primer, because the drywall is very porous, it will absorb a good bit of paint. Priming your walls before painting saves money and time.
Step #14: Countertop Installation
Your old countertops will be removed and disassembled. Your new countertops will be templated and measured precisely. After everything is confirmed and measured and your materials are delivered, your new countertop will be put in its place.

Step #15: Backsplash Installation
To begin installation of your backsplash, you will need adhesive and tile. Plan your layout, cut and install tiles, and apply grout to the tile. A backsplash draws attention to the whole appearance of your space, so when designing your kitchen, you ought to use the backsplash as an opportunity to design an attention-grabbing focal point for your space.
Step #16: Finish Plumbing
At this point, the plumber will remove the caps on the drains and water supply pipes and install water supply lines. Additionally, your plumber will connect the drain and water supply lines to the plumbing fixtures, such as sinks, dishwashers, and refrigerators. Lastly, during the plumbing finish, your plumber will caulk and seal around all the plumbing fixtures.
Step #17: Finish Electric
At the final stages of electric, all electrical items will be installed such as HVAC systems, receptacles, fans, lights, dimmers and all electric appliances.
Step #18: Touch Ups
The final items to do before your kitchen remodel is complete is mount the trim also, the door frames and baseboards will no doubt need to be nailed up at this stage.
When you’re remodeling your kitchen, it is important to know the process and what to do or not do to make your kitchen dreams happen. Use our process list as you get started.
. . .
We hope you found this bit of information helpful, inspiring, and motivating toward renovating your kitchen and bathroom.


