Projects › Upper West Side › 250 West 103rd Street
Completed project · Upper West Side, New York, NY
A bathroom that got bigger without moving a single wall that mattered. The scope noticed that an existing recessed niche proved there was hollow space behind the bumped-out window wall, and proposed taking that space back. The shower bench was left undecided on paper until demolition showed how much had been found.

Job record
- Location
- Manhattan Valley, New York, NY 10025
- Building
- 250 West 103rd Street
- Scope
- Bathroom renovation shower to shower, plus a kitchen backsplash and hardware refit
- Construction
- Concrete slab floors, joist-construction ceilings
- Duration
- 6 to 8 weeks, started 17 July 2020
- Completed
- 2020
Reading a niche as evidence
The demolition list opens with an unusual instruction: remove a portion of the bumped-out window wall where possible, because there is currently a recessed niche, which indicates there is space. That is a deduction, not a measurement. Somebody looked at a shelf already sunk into a furred-out wall and concluded that if a niche fits, so does a person.
Furring around a window in an older building is often deeper than the pipe or the sill it was built to hide. Nobody can tell you how much is recoverable without opening it, which is why the scope hedges with where possible. What it does instead is name the prize: whatever depth comes back belongs to the shower.

The same logic runs through the bench. The scope specifies a new shower bench and then deliberately declines to fix its shape, offering either a corner bench or a bench integrated into the reclaimed space in the shower stall, to be confirmed after demolition. The photograph shows a bench running the full width of the stall with a stone top, which is the second option. That is what a well-written contingency looks like: the decision is taken when the information exists, and it is priced either way beforehand.
Slab below, joists above, and what each one allows
The scope is headed with a summary of the construction: concrete slab floors, joist-construction ceilings. Those two facts set most of the technical limits in the job, and it is worth understanding why a good scope states them at the top rather than burying them.
The slab floor means the drain and supply positions are effectively fixed. You do not chase a concrete slab in an occupied apartment building, so the toilet goes back on the same rough-in, the vanity goes back in the same location and the shower is rebuilt where the shower was. Every fixture on this job stayed put.
The joist ceiling gives back what the slab takes away. Because the ceiling is timber rather than concrete, there is a void above it, and that is why the scope can add a waterproof recessed shower light in the existing joist-construction ceiling and run it to a separate switch and dimmer near the entrance. A recessed light in a shower is not possible in a slab ceiling without dropping it. Here it cost a cable run.


What the crew did, in order
Protect what is staying before touching what is going
The scope names two things to protect rather than replace: the pocket door with its lockset and casings, and the linen closet door with its hardware and shelving. A pocket door is expensive to refit and easy to damage in a small room during a strip-out, so it is worth naming explicitly.
Strip the bathroom and open the window wall
Out came the recess-mounted medicine cabinet, the sconce, the switch and GFCI duplex, the floor tile and saddle, the wall tile, the vanity with its sink top and faucet, the tank toilet, the shower stall with its lead pan, the bypass glass enclosure, the accessories, the shut-off valves, the hot and cold branch lines and the shower fixture. The bumped-out window wall was opened to see how much depth could be recovered.
Replace the branch lines while the wall is open
New shut-off valves, check valves and hammer arrestors, with new hot and cold branch lines run back to the risers where those risers sit within the bathroom. This is the one moment in the life of a bathroom when that work is cheap, which is why it belongs in the scope rather than in a change order.
Build the shower base on cinderblock
A new lead pan and a cinderblock curb. Cinderblock rather than framed timber is what lets a pan and a tiled curb sit on something that will not move or rot behind the waterproofing.
Waterproof the floor and turn it up the walls
Waterproof membrane across the floor, turned six inches up the walls, and carried underneath the shower stall itself rather than stopping at its edge. Cement board went into the shower enclosure and the remaining walls were resurfaced where required.
Run the shower light into the ceiling void
A waterproof recessed fixture set into the joist ceiling above the shower, on its own switch and dimmer near the bathroom entrance, so the shower can be lit independently of the sconce.
Tile the wet zone differently from the dry
Wall tile to ceiling height inside the shower enclosure and to roughly four feet outside it, with the window recess tiled on all its returns. Floor tile and a new saddle over the membrane.
Reinstate the fittings on their existing positions
A vanity, sink top and faucet of the same 24 inch by 18 inch footprint in the same location. A round-front tank toilet on the same rough-in. A new sconce, adjusted in position if required, with its switch and dimmer and the GFCI duplex updated in place. A recess-mounted medicine cabinet, with the wall reframed to take it.
Finish with a stock enclosure
A stock shower glass enclosure rather than a made-to-measure one, then grab bars, shower shelves, towel bars, robe hook and paper holder, and paint.
Refit the kitchen without replacing it
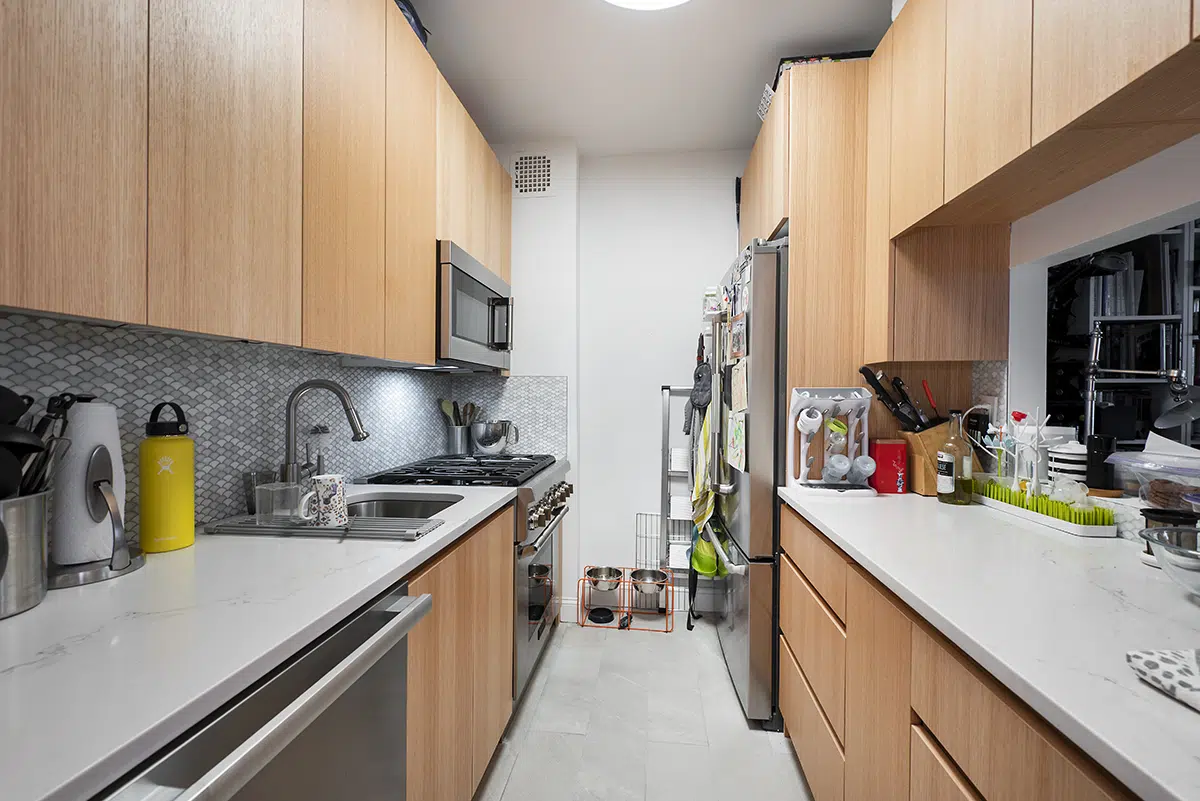
In the kitchen: the old backsplash tile, the four-inch granite backsplash and the wood valance above the refrigerator all came out; new backsplash tile went in between the counters and the wall cabinets; a new thirty-inch refrigerator went into the same position on the existing icemaker line; sixty-four soft-close pistons, two per door, were fitted to the existing cabinet face frames throughout; and the room was painted.
Sixty-four pistons instead of a new kitchen
The kitchen half of this job is worth separating out, because it is the cheapest item on this page and probably the most widely applicable. The cabinets were not replaced. They were fitted with sixty-four soft-close pistons, two per door, across thirty-two doors.
Alongside that: the backsplash was replaced, which meant removing the four-inch granite lip that the old countertop carried and tiling the full height between the counters and the wall cabinets instead. The wood valance above the refrigerator came out so a standard thirty-inch replacement would fit, and the new one went onto the icemaker line that was already there. Then paint.
That is a kitchen that looks and behaves substantially different without a single cabinet box being removed. If your cabinet carcasses are sound and your layout works, this is the order in which to spend money.
Materials and finishes
Shower
| Element | Specification |
|---|---|
| Configuration | Shower to shower, rebuilt in the same location |
| Reclaimed space | Portion of the bumped-out window wall removed where depth allowed |
| Bench | New, integrated into the reclaimed space rather than built as a corner bench |
| Base | New lead pan with a cinderblock curb |
| Valve | Pressure-balancing valve and trim with fixed head, or thermostatic valve with separate volume controls for head and handshower |
| Enclosure | Stock shower glass enclosure, replacing a bypass unit |
| Lighting | Waterproof recessed fixture set into the joist ceiling, on its own switch and dimmer |
Tile and waterproofing
| Element | Specification |
|---|---|
| Floor waterproofing | Membrane across the floor, turned 6 in up the walls and carried under the shower stall |
| Enclosure walls | Cement board, with remaining walls resurfaced where required |
| Wall tile | To ceiling height inside the enclosure, approximately 4 ft outside it |
| Feature tile | Blue variegated mosaic band inside the wet zone, against white subway tile |
| Window recess | Tiled on all returns |
| Floor | New floor tile and saddle |
Plumbing and fittings
| Element | Specification |
|---|---|
| Branch lines | New hot and cold branch lines to the risers where those risers fall within the bathroom |
| Valves | New shut-off valves, check valves and hammer arrestors |
| Vanity | 24 in wide by 18 in deep, with sink top and faucet, in the existing location |
| Toilet | Round-front tank toilet on the existing rough-in |
| Medicine cabinet | Recess mounted, with the wall reframed to receive it |
| Accessories | Grab bars, shower shelves, towel bars, robe hook and paper holder |
Protected and reused
| Element | Specification |
|---|---|
| Pocket door | Door, lockset and casings protected through the strip-out |
| Linen closet | Door, hardware and shelving protected |
| Fixture positions | Toilet rough-in, vanity location and shower position all retained |
Kitchen
| Element | Specification |
|---|---|
| Cabinets | Retained; 64 soft-close pistons fitted to the existing face frames, two per door |
| Backsplash | Old tile and the 4 in granite backsplash removed; new tile between counters and wall cabinets, grouted, caulked and sealed |
| Refrigerator | New 30 in unit in the same position, on the existing icemaker line |
| Valance | Wood valance above the refrigerator removed |
| Finish | Kitchen painted |
Materials, dimensions and the construction summary are taken from the signed scope of work dated 28 January 2020. Dates are from the permit filing and the neighbour notification held in the job file.
The result
More MyHome projects in Manhattan
Questions this project answers
Can I make my small bathroom bigger without moving walls?
Sometimes you can take back space you did not know you had. This bathroom had a bumped-out wall around its window, and the scope spotted that an existing recessed niche in that wall proved there was hollow space behind it. A portion of the bump-out was removed where depth allowed, and the space it gave back went into the shower, where it became a full-width bench. Furring around windows, pipes and old risers is frequently deeper than what it conceals. If you have a recess, a shelf or a cabinet sunk into a wall, that is evidence worth investigating before you accept the room’s current dimensions.
What difference does it make whether my floors are concrete slab or timber joists?
It decides what can move and what cannot. This apartment has concrete slab floors and joist-construction ceilings, and the scope states that at the top for good reason. The slab means drains and supplies are effectively fixed, so the toilet went back on the same rough-in, the vanity went back in the same place, and the shower was rebuilt where the shower was. The joist ceiling meant a void above, which is why a waterproof recessed light could be set into the shower ceiling on its own dimmer. Ask which you have before you plan a layout, because moving a toilet over concrete is a different conversation from moving one over timber.
Is it worth adding soft-close hinges rather than replacing kitchen cabinets?
If the cabinet boxes are sound and the layout works, it is the best value available in a kitchen. This job fitted sixty-four soft-close pistons, two per door across thirty-two doors, to the existing face frames, replaced the backsplash and the refrigerator, and painted the room. Nothing was torn out. A kitchen that closes quietly and has a new backsplash reads as renovated, and the work took a fraction of the time and cost of new cabinetry. Replace cabinets when the carcasses have failed or the layout is wrong, not because the doors slam.
Can I have a window inside my shower?
Yes, and this bathroom does, but the detailing decides whether you regret it. The window sits in a recess inside the wet zone, and the recess is tiled on all its returns rather than tiled to the opening and then painted inside it. That is what stops water sitting on a painted reveal and working into the frame. A window in a shower also needs the waterproofing carried up behind the tile to full height, which this job did, and it is worth confirming that the glass and frame you have can tolerate constant humidity before you build the enclosure around it.
What should a shower bench be built on?
Not framed timber, if you can avoid it. Here the shower curb was constructed in cinderblock over a new lead pan, and the bench was built into the space reclaimed from the window wall. Masonry under a tiled bench and curb means the structure carrying the tile cannot move seasonally or rot behind the waterproofing, which is the usual failure mode when a bench is framed in studwork and tiled over. It also matters that the waterproof membrane runs underneath the shower stall rather than stopping at its perimeter, which is how this one was specified.