Projects › Upper West Side › 40 West 105th Street
Completed project · Upper West Side, New York, NY
An Upper West Side galley kitchen opened onto the dining room by moving one wall about a foot and cutting back the entrance walls either side, so the cabinets could turn the corner and carry an eleven inch breakfast bar. The range and microwave were kept and refitted rather than replaced.

Job record
- Location
- Upper West Side, New York, NY 10025
- Building
- 40 West 105th Street
- Scope
- Kitchen renovation with wall relocation and a new peninsula
- Appliances
- New LG refrigerator and Bosch dishwasher; existing range and microwave reused
- Kept
- Range, microwave, sink position, kitchen ceiling light
- Completed
- 2025
The kitchen before the work
A closed galley with maple cabinets, a speckled granite counter and a beige ceramic backsplash. It worked, but it ended in a wall: the run of counter stopped dead where the kitchen met the dining room, and the entrance was pinched on both sides by short return walls.
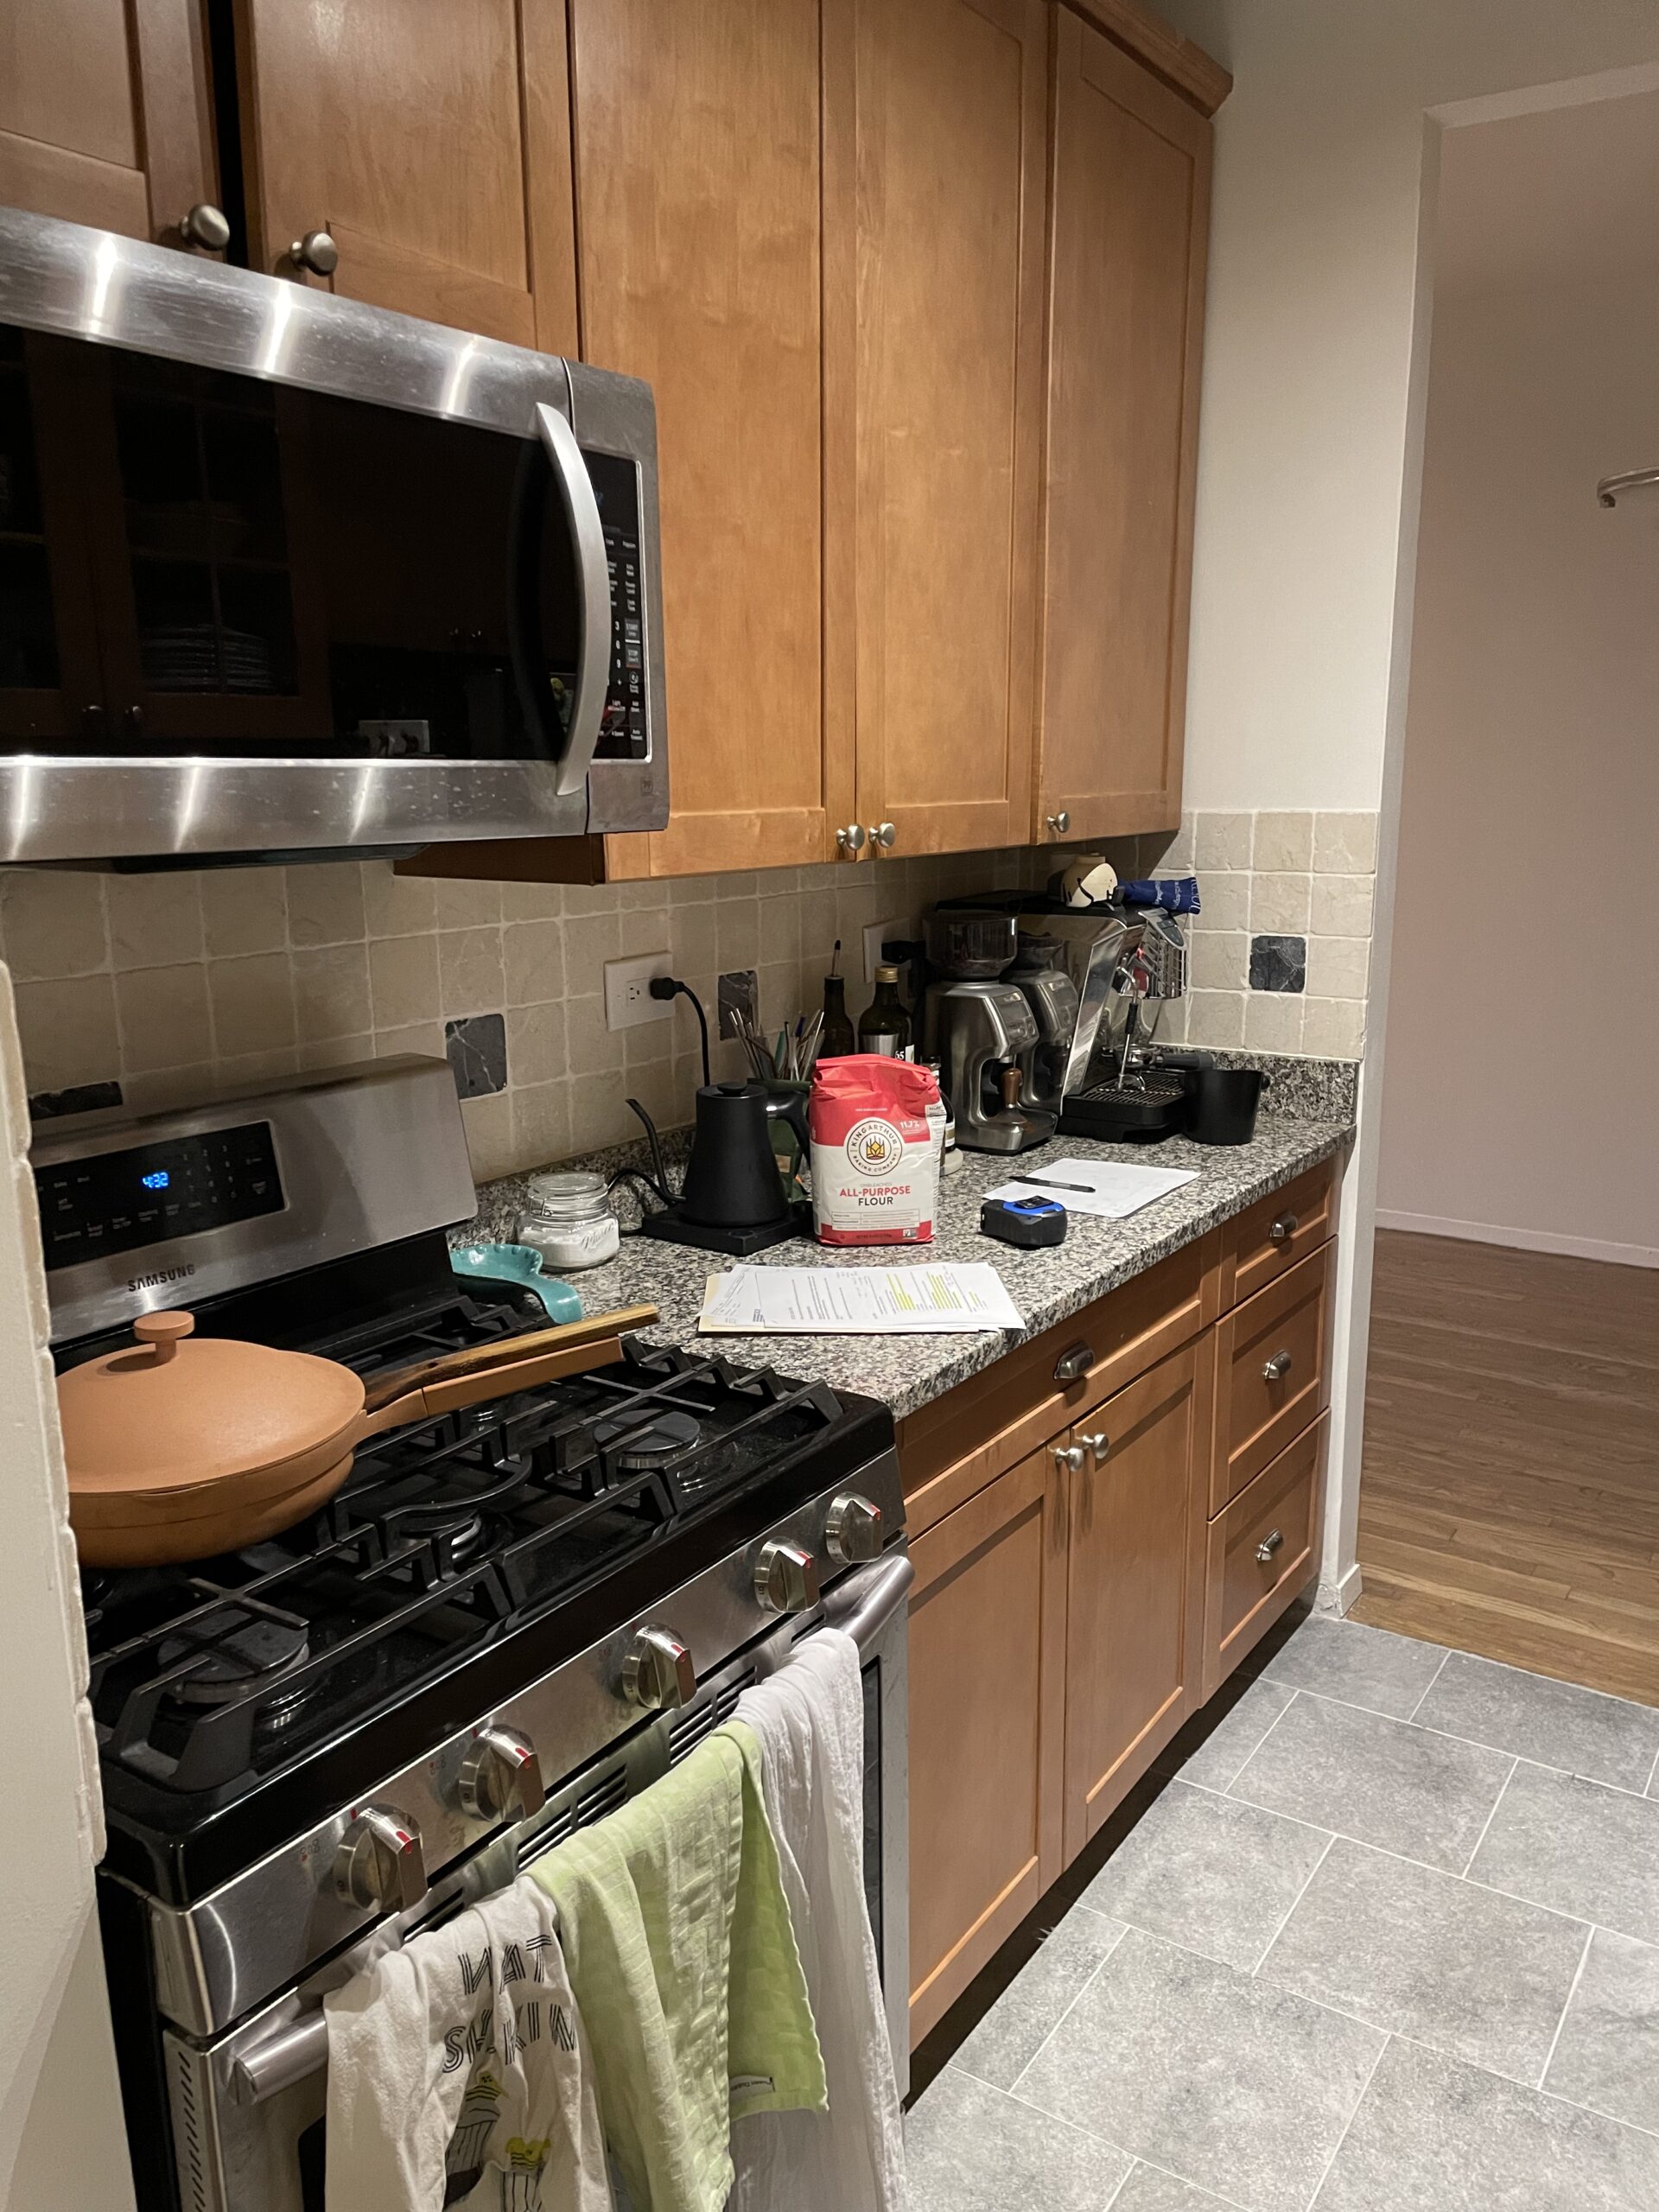
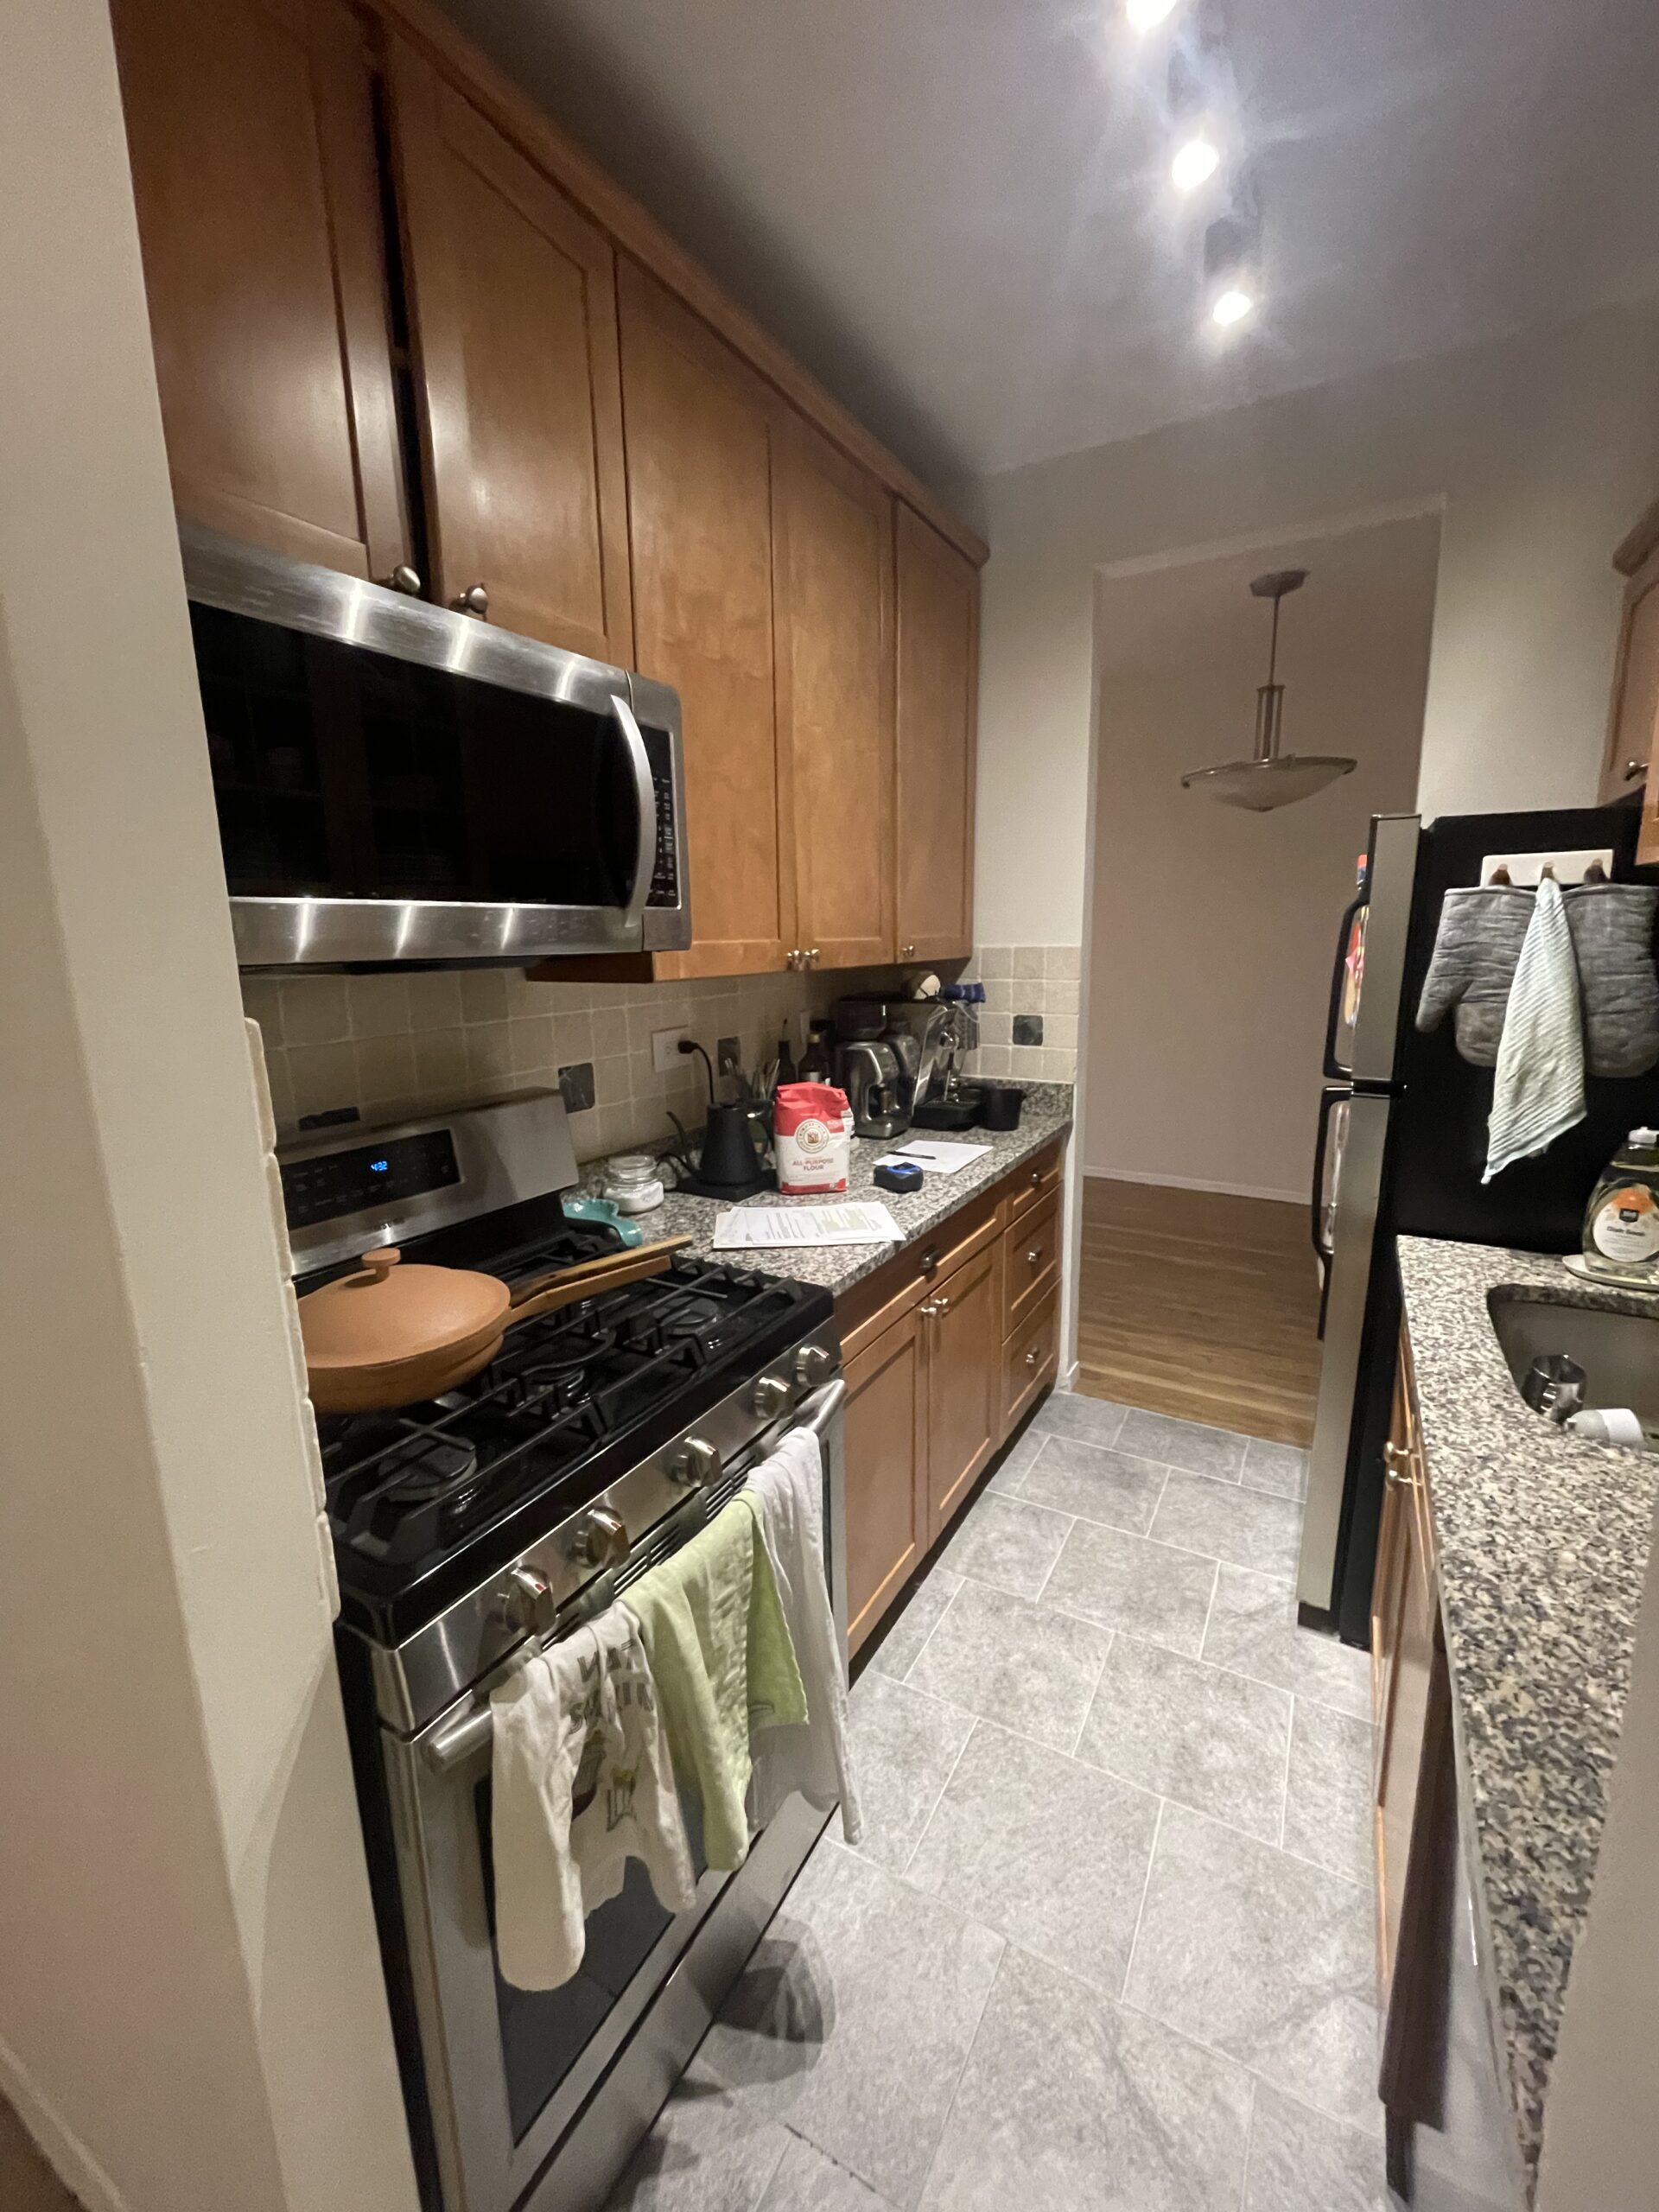
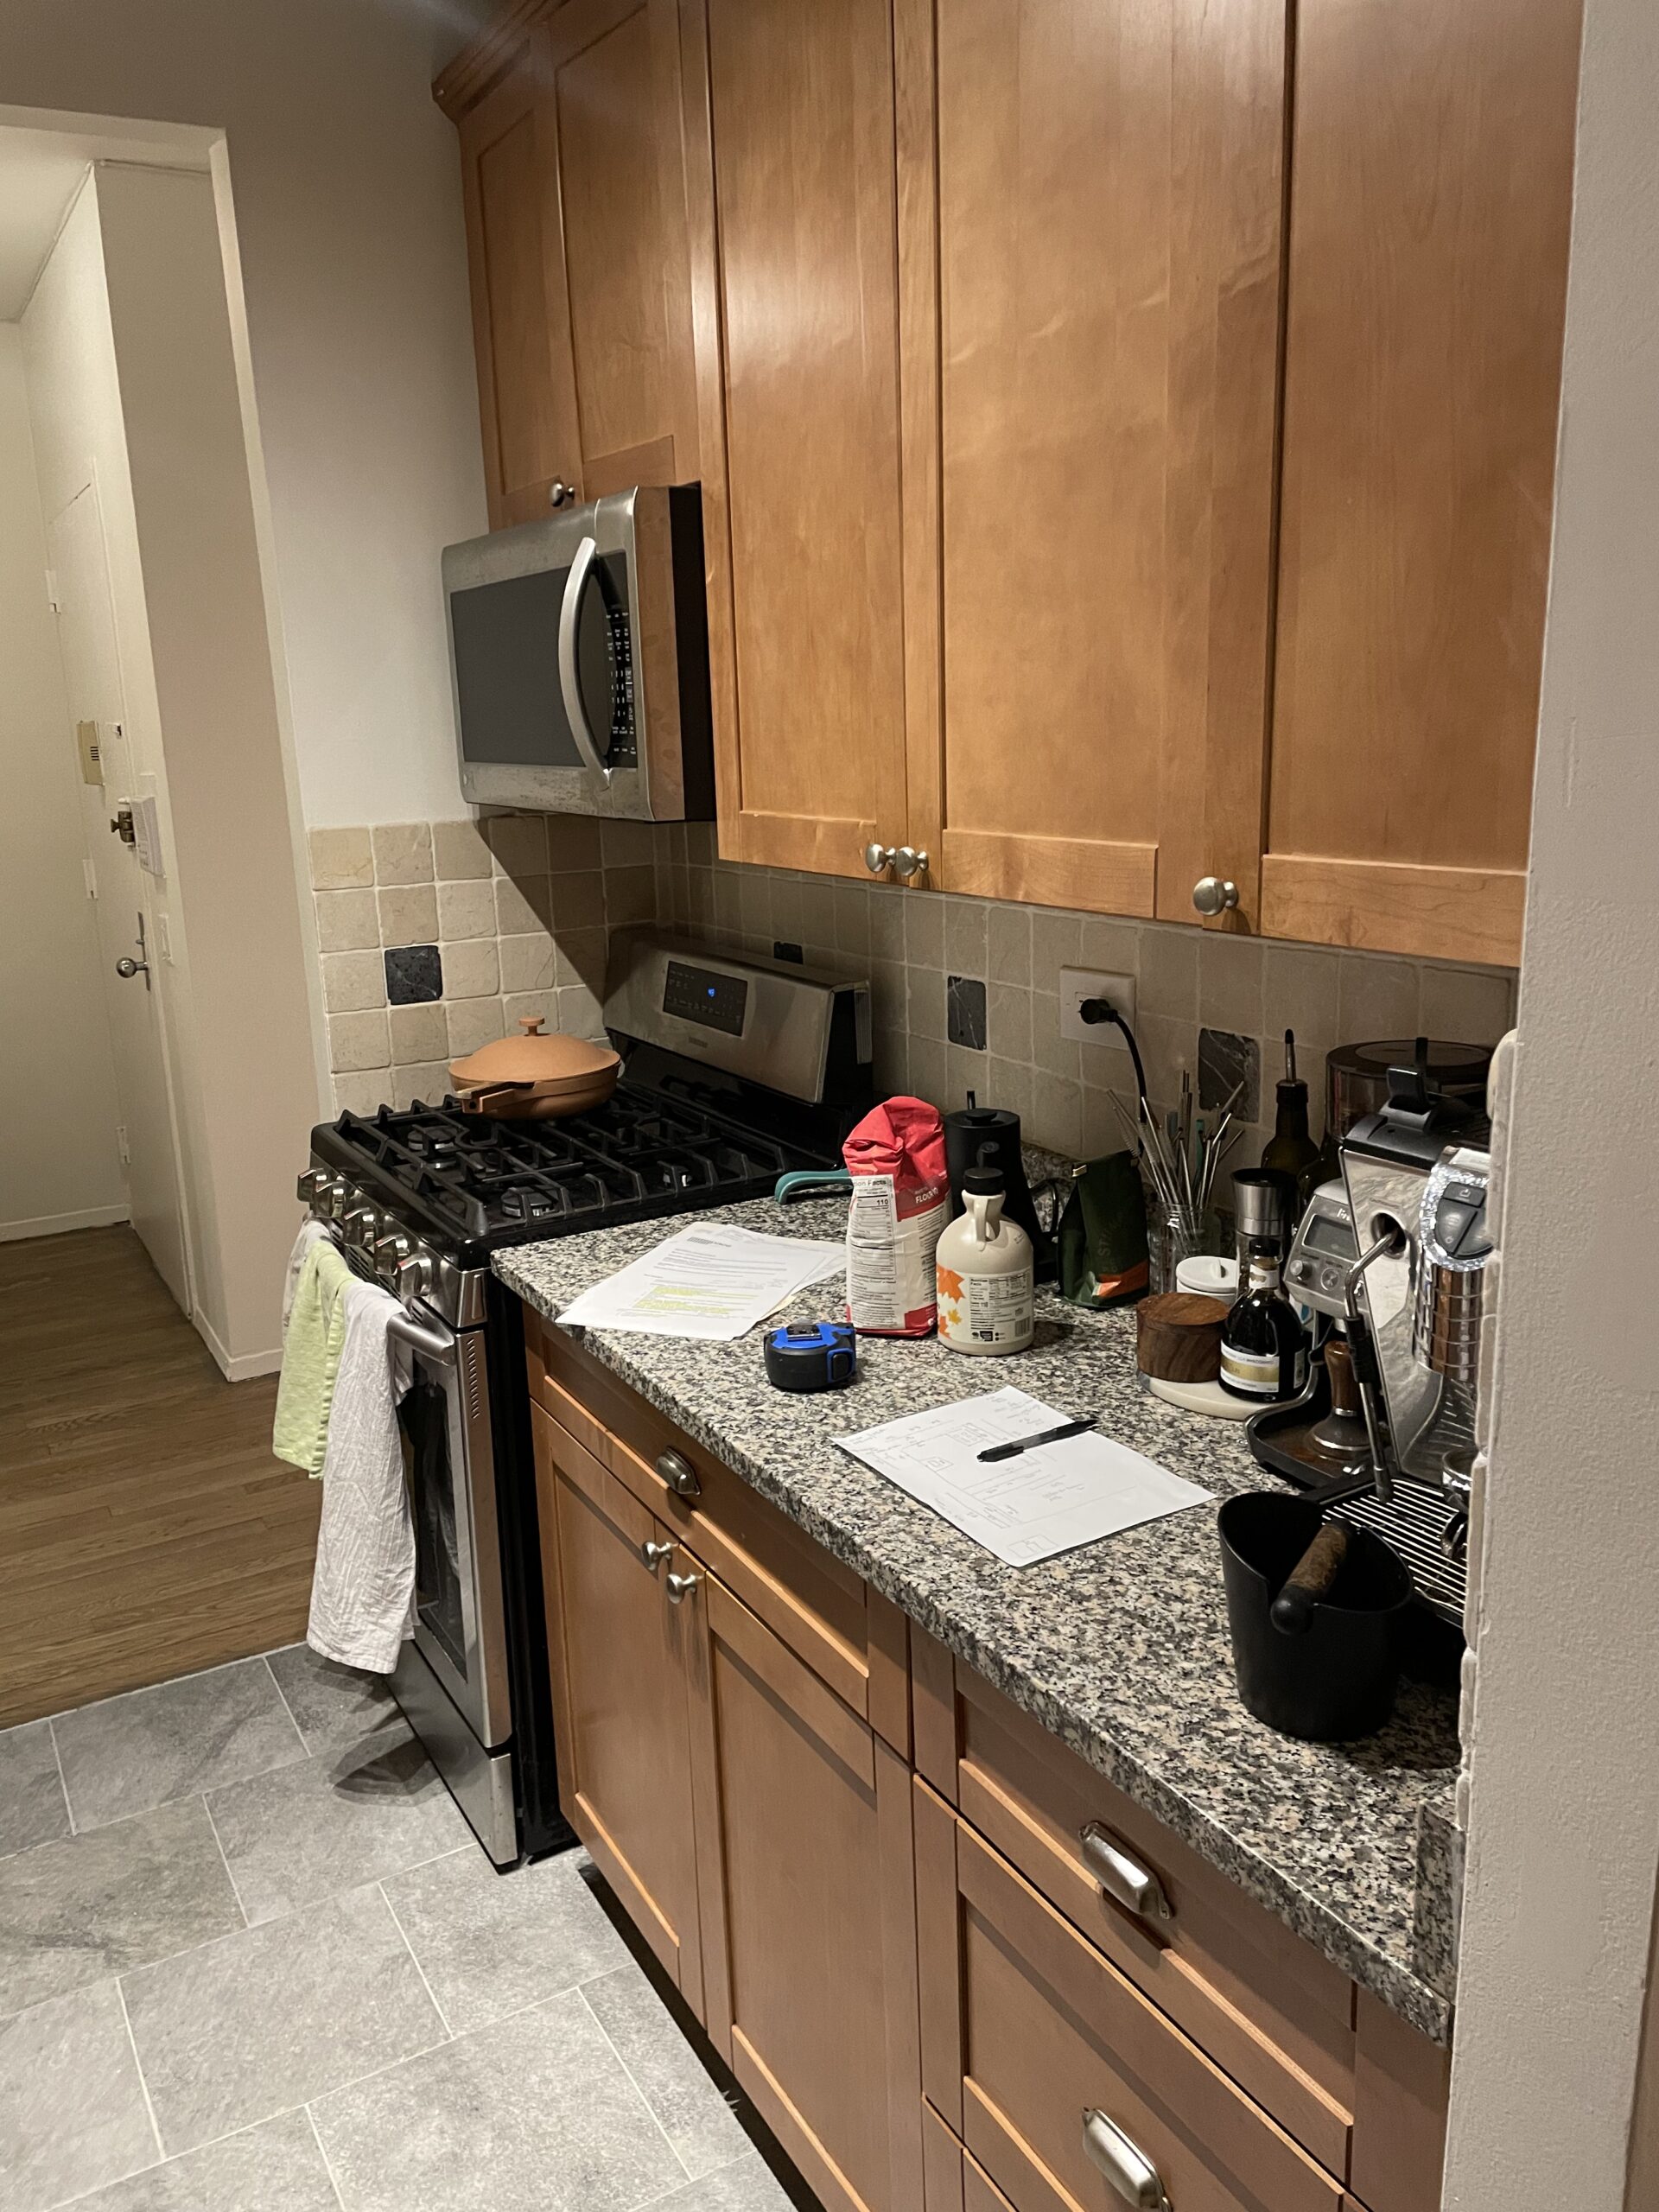
The client wanted to keep the range and the microwave, both of which were in good order, and the sink was staying where it was. That set the problem: everything that could not move had to be worked around, and the space had to come from somewhere else.


What the crew did, in order
Protect the route, not just the room
Masonite and plastic screening over the apartment floors, Masonite laid from the apartment door all the way to the elevator, and vents covered inside the home so dust could not travel into the building’s system. A professional cleaning crew was brought in at the end rather than leaving it to the trades.
Move one wall about a foot
The half wall dividing the kitchen from the dining room was demolished and rebuilt roughly twelve inches further into the dining room, framed in new 2×4 metal stud. That single move is what creates the open kitchen and the breakfast bar on the living room side.
Cut back the entrance walls
The short return walls on either side of the kitchen entrance came out on the living room side, so cabinets could be carried through into that area and turned along the back wall into an L. About four to six inches was taken off the left-hand entrance wall so a twelve to fifteen inch base cabinet could sit where the range used to be. A twelve inch smoke soffit had to stay.
Replace the plumbing back to the risers
New hot and cold branch lines and new waste lines run from the risers to the fixtures, with new shut-off valves, check valves and water hammer arrestors. A new water line was run for the new dishwasher, and the existing ice maker line was refitted for the new refrigerator.
Waterproof the floor before tiling
Laticrete 9235 waterproof membrane across the kitchen floor and the section of living room floor taking new cabinets, lapped a minimum of six inches up the walls, then new floor tile through the original kitchen footprint and the foyer area, and a new saddle at the threshold.
Refit what was being kept
The existing gas range was moved about nine to twelve inches to the right and reconnected on its existing flexible gas line and outlet. The existing microwave went back above it. The kitchen ceiling light was kept and reinstalled in place, and the electrical panel was upgraded at its existing location.
Build the peninsula and the shelf
Plywood substrate was installed to anchor and support the wall cabinets, then wall, base and peninsula cabinets went in, with an eleven inch counter overhang on the dining room side for the breakfast bar. An open shelf took the place of a wall cabinet on the sink side. Backsplash tile was run between counter and upper cabinets in the galley, and in the new corner between the base cabinets and the underside of that first shelf.
Paint the room properly, which is mostly preparation
Hardware came off rather than being masked: door handles, blinds, outlet and switch faces, ceiling fans. Surfaces were cleaned, excess plaster and paint sanded back from walls, cracks and window moldings, and deep cracks taped. Then primer on walls, ceiling and trim, and two coats of finish. Skim coating was explicitly not included, which is the kind of exclusion worth reading before you sign rather than after you see the walls.
The finished kitchen
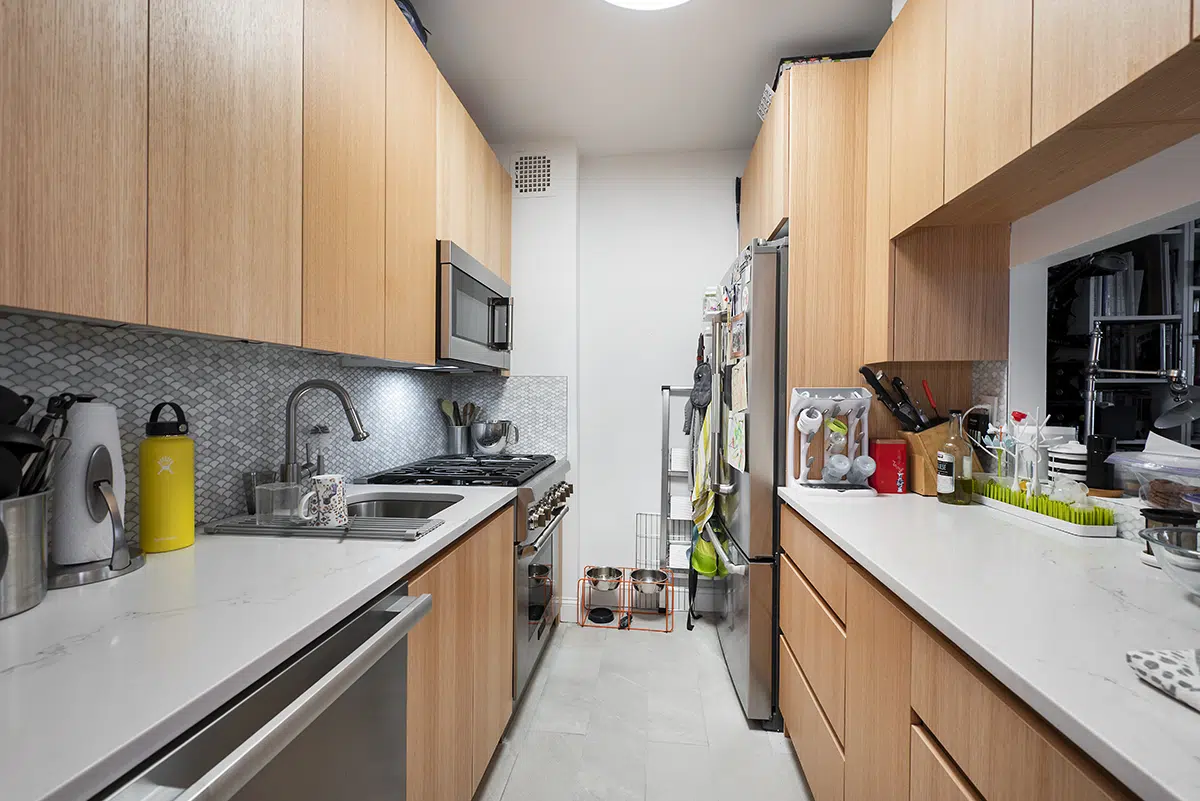
The backsplash is a green glazed tile laid in narrow vertical stacks, carried up behind the open shelf rather than stopping at a cabinet line, so the wall reads as one surface. Against the cherry fronts and a pale stone counter, it is the only strong color in the room and it does all the work.


Two appliances are new. The refrigerator is an LG counter-depth French door at 25.5 cubic feet, 16.9 in the refrigerator and 8.6 in the freezer, Energy Star rated with two ice makers, one in the door producing cubed and crushed and one in the freezer. Counter-depth matters here: it lets the fridge front finish flush with the cabinet run in a kitchen this narrow.


The dishwasher is a Bosch 300 Series in stainless, running at 46 decibels with a third rack for silverware and larger utensils. The sink is a Blanco Stellar Medium in satin brushed stainless, undermounted, which needs a 30 inch cabinet beneath it. Everything else in the room, the range and the microwave included, is what the client already owned.

Two electrical decisions are worth naming because neither shows in a photograph. The apartment’s electrical panel was upgraded, replaced at its existing location rather than relocated, which avoids running a new feed through finished rooms. And the ceiling light in the living room foyer was removed so the existing kitchen ceiling light could be reinstalled where it had always been: the fixture was worth keeping, and the foyer no longer needed its own once the cabinets ran through that corner.
New GFCI outlets went into the backsplash at the existing position and into the new peninsula, with cover plates to match. Under-cabinet lighting was quoted separately and left open until a style had been chosen, which is why it is not in the specification below.
Materials and finishes
Appliances and fixtures
| Element | Specification |
|---|---|
| Refrigerator | LG LRFXC2606S counter depth French door, 25.5 cu ft total, 16.9 refrigerator and 8.6 freezer, Energy Star |
| Refrigerator ice | Dual ice maker, in-door cubed and crushed plus freezer cubed, Smart Inverter compressor |
| Dishwasher | Bosch 300 Series SHE53C85N, stainless, 46 dBA, third rack, 33.875 x 23.5625 x 23.75 in |
| Sink | Blanco Stellar Medium, stainless steel, satin brushed, SKU 441025, 30 in minimum cabinet |
| Range and microwave | Existing units retained, refitted and reconnected |
Construction
| Element | Specification |
|---|---|
| Relocated wall | New 2×4 metal stud half wall, moved approximately 12 in into the dining room |
| Breakfast bar | Countertop overhang, 11 in on the dining room side |
| Floor waterproofing | Laticrete 9235 membrane, lapped a minimum of 6 in up the walls |
| Cabinet support | Plywood substrate installed to anchor and support wall cabinets |
| Threshold | New saddle or metal threshold at the floor transition |
| Electrical panel | Upgraded and reinstalled at its existing location |
The result
More MyHome projects in Manhattan
Questions this project answers
My NYC apartment kitchen is original to the building and feels cramped. What are my options?
You do not always have to gut the layout. This kitchen gained its space from one wall moving about twelve inches and two short entrance walls being cut back, which let the cabinets turn the corner into the dining room and carry a breakfast bar. The galley run, the sink position and the gas line all stayed where they were. Moving a non-structural partition and reclaiming the dead corners at an entrance is usually far cheaper than relocating plumbing or gas, and on a small apartment it buys more usable counter than either.
Can I keep my existing appliances in a kitchen renovation?
Yes, and on this job two were kept. The client retained a gas range and an over-range microwave in good condition; only the refrigerator and dishwasher were replaced. The range was moved about nine to twelve inches to the right and reconnected on its existing flexible gas line and outlet. Worth knowing: the scope priced that reconnection as conditional. If a new outlet had been needed, or if the gas had required a shutdown, that was flagged as an additional cost before work began rather than after.
What are change orders, and how do I avoid being overcharged by my contractor?
A change order is a written amendment to what was agreed, and the way to keep them rare is a scope that names its own uncertainties. This one does it repeatedly: under-cabinet lighting is listed as additional and to be determined once a style is chosen; an upper cabinet extension is marked to be decided during the design phase; new floor tile over the existing floor is flagged as possibly required and to be determined in production; and the gas reconnection carries a stated figure if a new outlet turns out to be needed. None of those became a surprise, because all of them were written down as open questions before anyone started.
How do I protect my building’s hallways and keep my neighbors happy during a renovation?
Protection here started outside the apartment. Masonite and plastic screening went over the home floors, Masonite was laid from the apartment door all the way to the elevator, and the vents inside the apartment were covered so dust could not escape the work site into the building’s ventilation. At the end a professional cleaning crew was brought in rather than leaving the clean to the trades. The hallway run is the part most often skipped and the part your neighbors actually see.
Is a counter-depth refrigerator worth it in a small kitchen?
In a galley, usually yes. A standard-depth refrigerator stands proud of the cabinets by several inches and narrows the walkway at exactly the point where two people pass. The LG unit here is counter depth and still holds 25.5 cubic feet, so the front finishes on the same plane as the cabinet run without giving up much capacity. What you trade is a little depth per shelf; what you get back is a corridor you can actually walk down with the door open.