Home Planning & Renovations
How to Prepare For a Kitchen Remodel in NYC?
By Adam Blake
A kitchen remodel is an exciting opportunity to transform one of the most important spaces in your home. However, without proper preparation, it can quickly become overwhelming. With over 20 years of experience, MyHome has helped countless homeowners easily navigate kitchen renovations.
Read on and discover the step-by-step advice to ensure your kitchen remodel is a smooth and successful experience.
Related Article: How Much Does a Remodeled Kitchen Increase Home Value?
Step 1: Define Your Goals and Budget
The first step in preparing for a NYC kitchen remodel is clearly defining your goals and establishing a realistic budget. This will serve as the foundation for all decisions throughout the renovation process.
Start by asking yourself what you want to achieve with your remodel. Do you need more storage, updated appliances, or a more open kitchen layout? Identifying your pain points will help you focus your efforts and allocate resources effectively.
Next, establish a budget that reflects your financial comfort zone. Break this budget into categories:
- Design and Planning: Typically 10-15% of your budget covers professional design services to create a functional and aesthetically pleasing kitchen.
- Materials: Cabinets, countertops, flooring, and fixtures often make up 50-60% of the total cost.
- Labor: Costs for installation, plumbing, and electrical work usually account for 25-35%.
- Contingency Fund: Set aside 10-15% of your budget for unexpected expenses, such as structural repairs or permit fees.
By setting clear goals and a detailed budget, you’ll avoid costly surprises and keep your project on track.
Step 2: Plan the Layout
Your kitchen layout significantly impacts both functionality and flow, so it’s essential to plan this aspect carefully. Start by evaluating your current kitchen’s shortcomings. Is there enough counter space? Are appliances positioned conveniently?
Consider popular layouts:
- Galley Kitchen: A space-efficient design with parallel counters, ideal for small kitchens.
- L-Shaped Kitchen: Offers flexibility and works well in open floor plans.
- U-Shaped Kitchen: Provides maximum storage and workspace, suitable for larger kitchens.
- Island Kitchen: Adds prep space, seating, and storage, creating a focal point for socializing.
The kitchen work triangle—the distance between the sink, stove, and refrigerator—is critical to ensuring an efficient workflow. A professional designer, like those at MyHome, can help you optimize your layout for functionality while incorporating your personal style.
Related Article: Illuminate Your Space: Top Kitchen and Island Lighting Trends

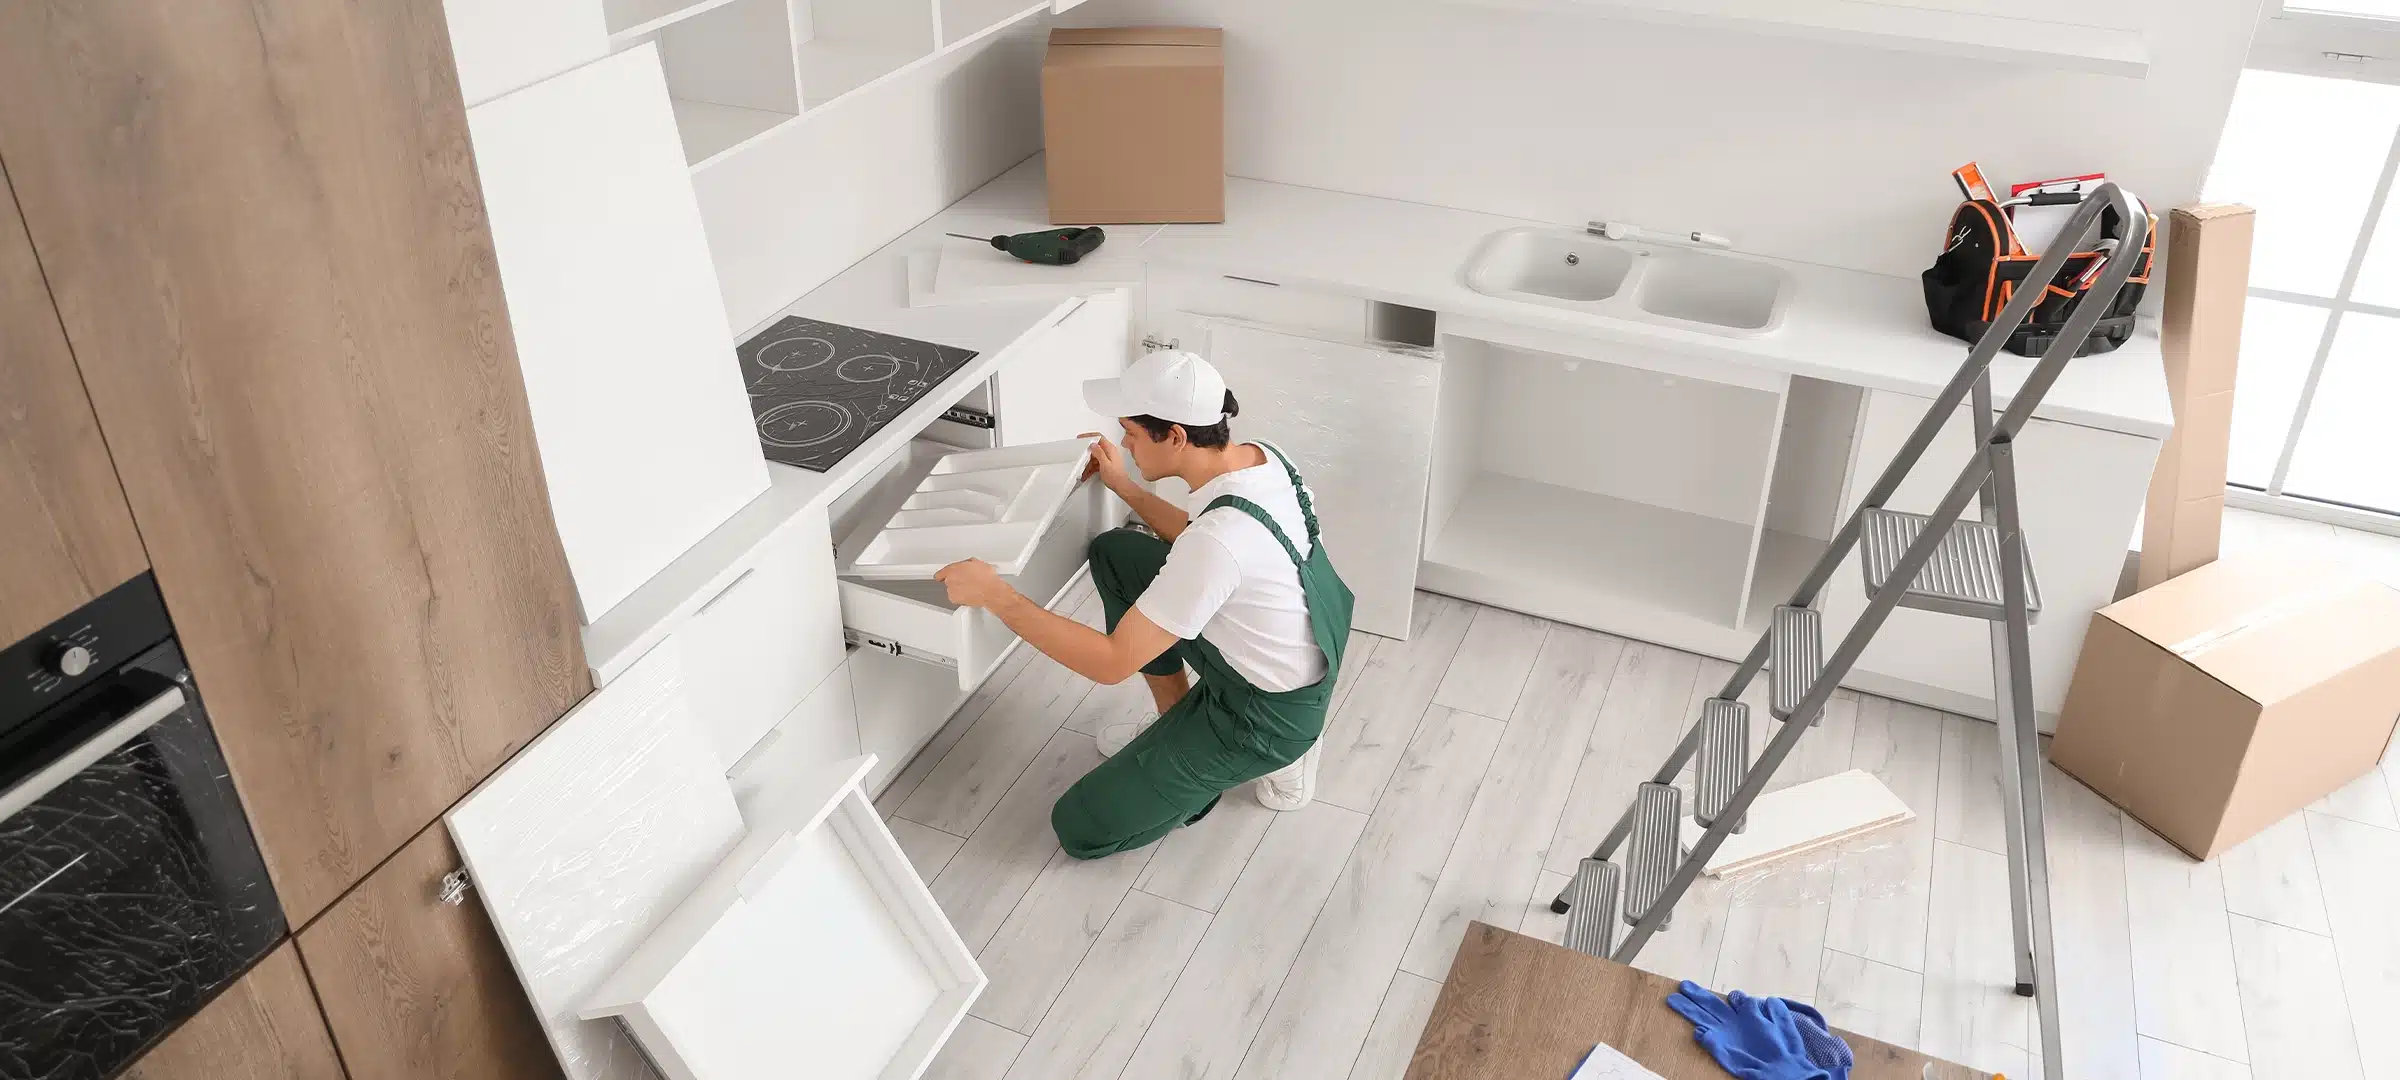
Step 3: Selecting and Preparing Appliances
Before finalizing your design plans, you must research and purchase your kitchen appliances. Ordering them well in advance ensures they are available when needed for installation and prevents costly timeline delays.
When choosing cooktops, ranges, wall ovens, microwaves, refrigerators, and dishwashers, always refer to manufacturer sizing guides.
Important Note on Specs: Do not guess the sizing. Provide your designer and contractor with exact specifications and dimensions to ensure seamless integration into your cabinetry.
Additionally, consider technical requirements like venting for your range hood and whether you need to order extra parts and accessories (such as trim kits or water line extensions) prior to delivery and inspection.
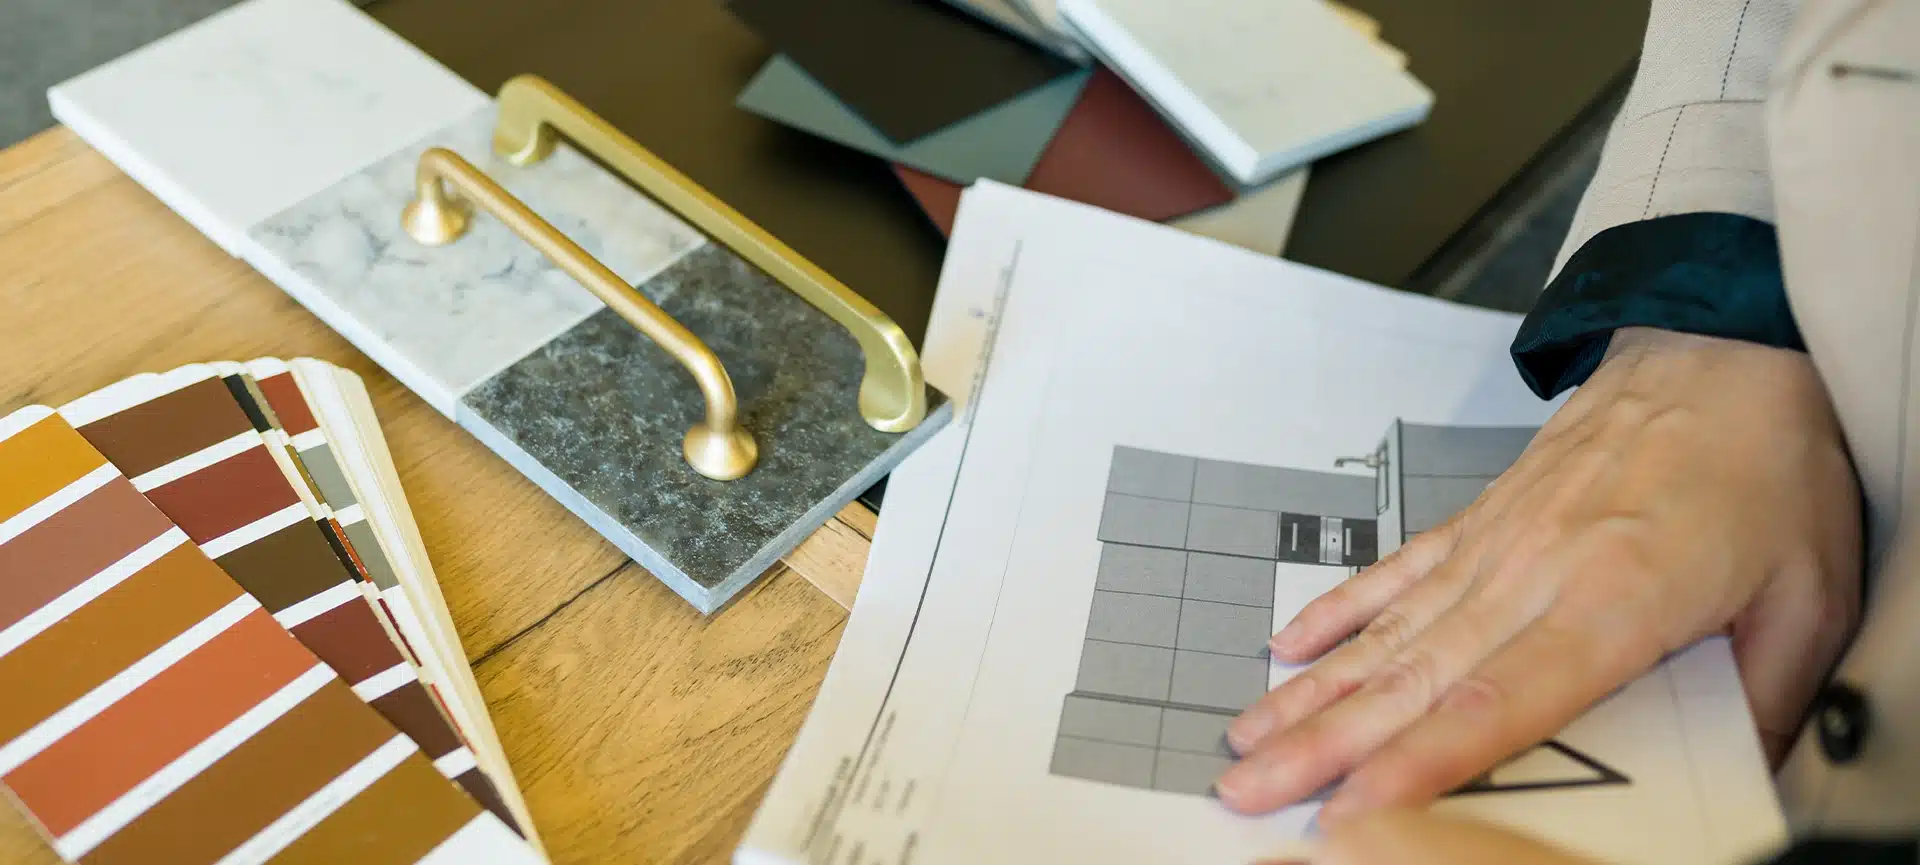
Step 4: Choose Materials and Finishes
The materials and finishes you choose set the tone for your kitchen’s overall aesthetic. Striking a balance between durability, functionality, and style is key to achieving a timeless look.
- Cabinets: Custom cabinets offer the ultimate flexibility in design but are more expensive. Semi-custom and stock cabinets offer more affordable alternatives without compromising on style.
- Countertops: Popular and kitchen-safe countertops include quartz for durability, granite for a natural look, and butcher block for warmth. Each material varies in price and maintenance requirements.
- Flooring: Choose durable and easy-to-clean materials, such as tile, hardwood, or luxury vinyl plank.
- Backsplashes: A backsplash can be a statement piece. Consider subway tiles for a classic look or bold patterns for a modern touch.
Related Article: How to Mix and Match Kitchen Countertops and Cabinets
Take the time to visit MyHome’s Midtown Manhattan showroom, where you can see and feel the materials, ensuring they align with your vision.

Step 5: Project Planning and Communication
A successful remodel relies entirely on clear project planning and establishing open lines of communication before the first sledgehammer swings.
Review the detailed timeline and schedule requirements with your team. A professional project manager from MyHome will oversee your renovation to ensure the crew meets strict performance standards and quality expectations outlined in your contractor agreements.
To keep everyone on the same page:
- Establish a preferred line of communication (text, email, or phone).
- Set a routine day to check in every week to review progress and address questions.
- Always have a backup plan in case a specific material or fixture faces shipping delays.
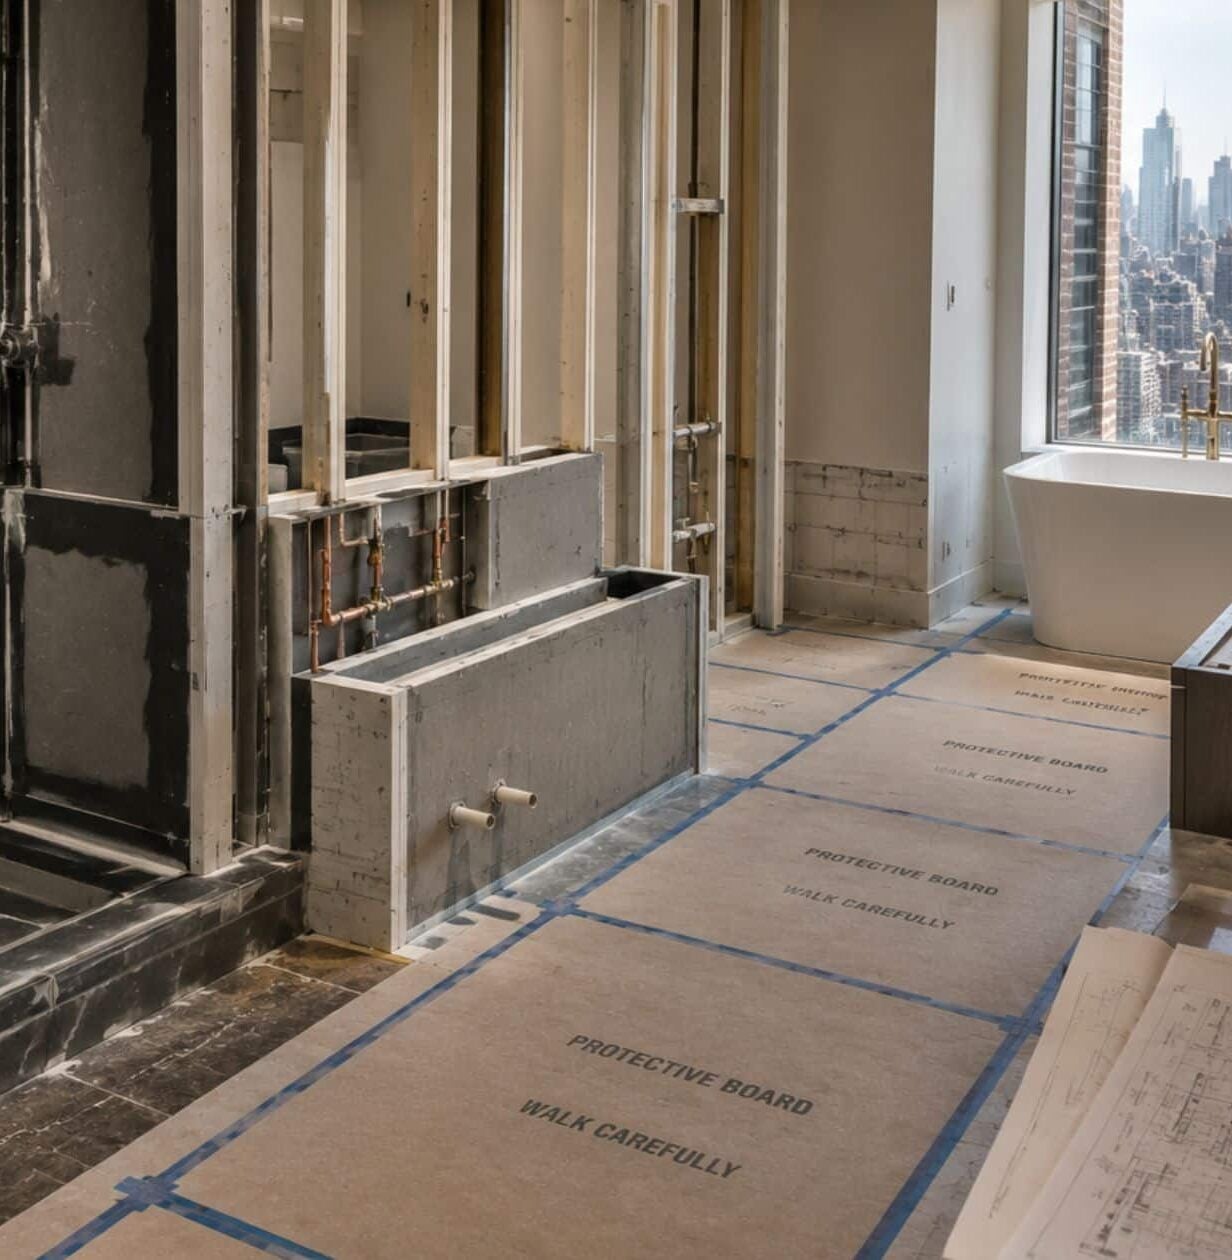
Step 6: Secure Permits and Approvals
Obtaining the necessary permits is a crucial step in ensuring your remodel complies with local building codes. In New York City, permits are often required for electrical work, plumbing updates, and structural changes. Skipping this step can result in fines, delays, and potential safety issues.
MyHome’s team of experts simplifies this process by handling all the paperwork on your behalf. This ensures that your project adheres to NYC regulations, giving you peace of mind and saving you valuable time.
Step 7: Packing and Decluttering
Before construction days begin, you need to completely pack up your space. Think of this as the perfect opportunity to purge before you pack.
- Clear out every nook and cranny: Empty all cabinets, drawers, and pantries.
- Declutter: Donate unused small appliances and check expiration dates on canned and dry goods.
- Organize as you pack: Group like items together so they are easier to unpack later.
- Box up your kitchen items: Use heavy-duty boxes and bubble wrap for ceramics and glassware.
- Label everything: Utilize well-labeled boxes (you can even color code boxes by category) to make finding things later a breeze.
- Keep a few essentials handy: Set aside a small stash of daily-use items, cleaning supplies, and basic tools for your temporary living setup.
Step 8: Managing Mess, Disruption, and Household Safety
A kitchen remodel completely upends your daily routine. Managing the environment and prioritizing household and safety considerations will keep your family safe and sane.
Controlling Dust and Debris
Construction chaos is inevitable, but you can minimize the impact on the rest of your home. Ensure your contractor uses drop cloths and heavy-duty plastic coverings to protect floors and seal off adjacent rooms.
Confirm that the crew establishes clear entry and exit points to avoid tracking dirt through the house, and uses proper ventilation fans to exhaust airborne dust out of windows.
Pet and Family Safety
The noise and influx of strangers can cause significant stress for households. Pet safety should be a top priority; the loud noises of demolition can terrify animals. Consider factoring boarding expenses into your budget or arranging pet day care during the most chaotic construction days.
For the humans in the house, ensure pathways remain clear of hazards to maintain a welcoming environment. If the disruption is too intense, you may want to coordinate a family vacation or temporarily move out during the heaviest construction phases.
Step 9: Setting Up Temporary Cooking and Eating Arrangements
You still need to eat while your kitchen is a construction zone! Setting up a fully functional temporary kitchen and designated eating areas in a separate part of the house (like a basement or family room) is essential.
Pro-Tip: Choose a temporary workspace close to a water source, like a laundry room or wet bar, to act as a temporary sink.
Pack your mini-pantry with cordless appliances and countertop heroes, including:
- A countertop microwave or countertop oven
- An undercounter refrigerator or mini-fridge
- An electric tea kettle or coffee maker
- An outdoor grill for making simple meals on nice days
To minimize the hassle of cleanup without a portable dishwasher, stock up on disposable plates, cups, and utensils. Utilize family room trays or enjoy an outdoor picnic in the backyard to make mealtime feel like a fun adventure rather than an inconvenience.
Step 10: Staying Flexible and Motivated
Even with meticulous planning, unexpected challenges can arise. Common issues include discovering hidden problems—like water damage or outdated wiring—once demolition begins. Material bottlenecks and mid-project design changes can also impact your remodel timeframe.
To survive timeline delays and structural roadblocks, you must maintain patience and a flexible mindset. Leave plenty of financial and emotional wiggle room in your plans. Lean on your backup plan, remember that temporary setbacks are a normal part of the process, and stay motivated by focusing entirely on the gorgeous end result.
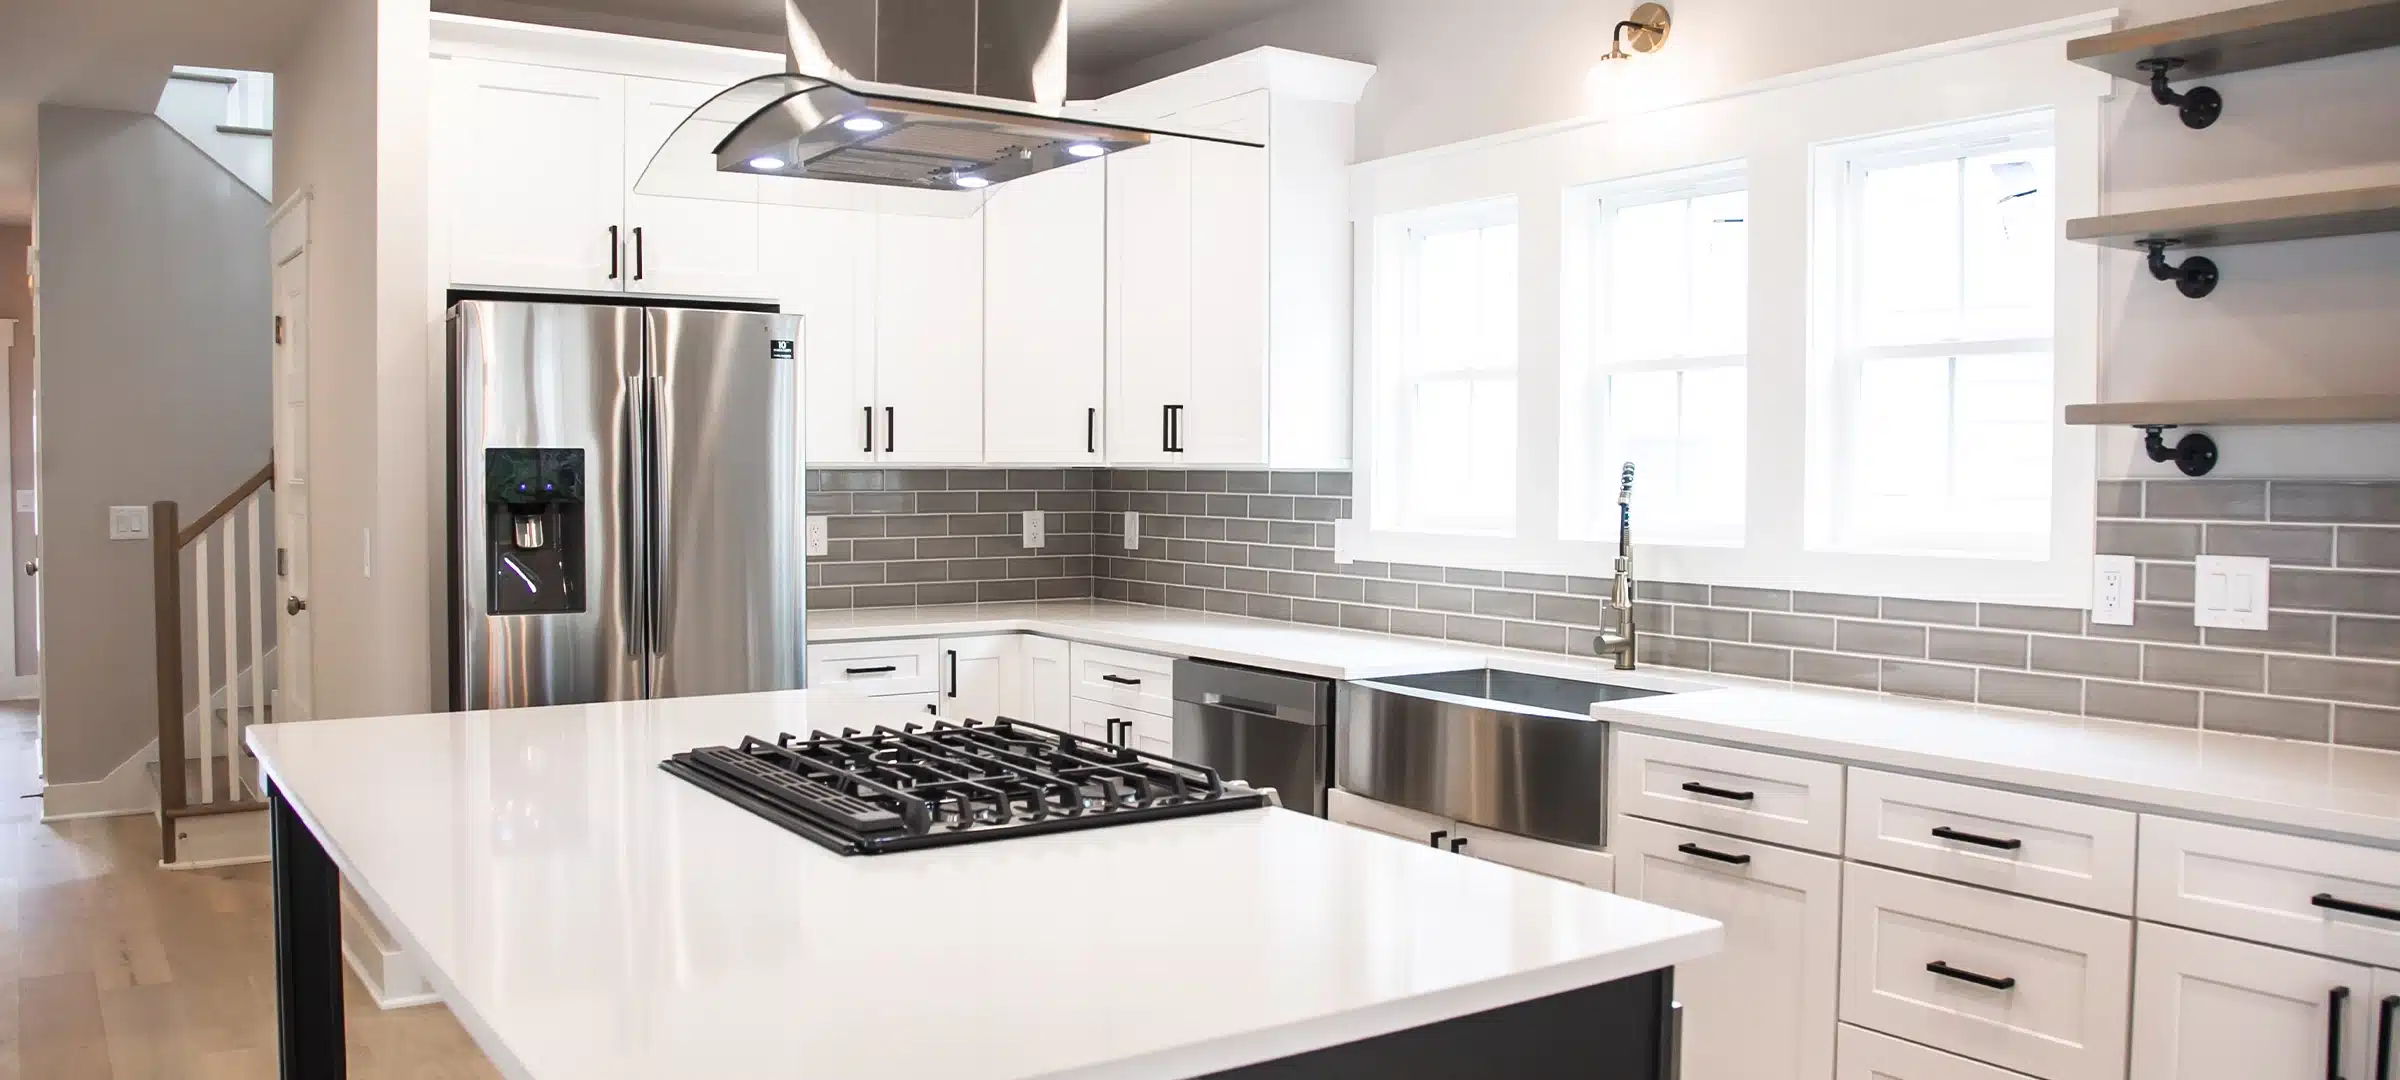
Step 11: Final Walkthrough and Inspection
Before your contractor considers the project complete, schedule a final walkthrough to ensure everything meets your expectations. During this walkthrough, check that all appliances, plumbing, and electrical systems are functioning correctly. Inspect the workmanship, paying close attention to details like cabinet alignment, countertop seams, and paint finishes.
MyHome provides a five-year warranty on all projects, giving you peace of mind that any issues will be addressed promptly.

Additional Tips for a Stress-Free Remodel
- Stick to the Plan: Avoid making major changes once construction begins, as this can cause delays and additional costs.
- Stay Organized: Keep contracts, receipts, warranties, and design plans in one central binder for easy reference.
- Be Realistic About Timelines: A typical kitchen remodel can take 6-12 weeks depending on the scope. Knowing this upfront helps manage expectations.
- Focus on the End Result: Temporary disruptions will pass, leaving you with a beautiful, functional kitchen that you’ll enjoy for years.
Related Article: 5 Errors That Can Derail Your Kitchen Remodel
Why Choose MyHome for Your Kitchen Remodel?
With over two decades of experience, MyHome is a trusted name in NYC home renovations. Here’s why homeowners choose us:
- Comprehensive Services: From design to construction, we handle every aspect of your remodel.
- Expert Designers: Our in-house team helps you create a kitchen that suits your style, layout, and appliance specifications.
- Permit Assistance: We manage all municipal permits and building approvals, ensuring a hassle-free process.
- Quality Craftsmanship: Backed by a five-year warranty, our work is built to last.
- Customer Satisfaction: Our commitment to excellence has earned us glowing reviews from NYC homeowners.
Build the Kitchen You’ve Always Wanted
Preparing for a kitchen remodel is the foundation for a successful renovation. By defining your goals, planning carefully, and partnering with experienced professionals like MyHome, you can bring your dream kitchen to life.
Contact us today to schedule your free consultation and take the first step toward creating a space you’ll love for years to come.
Kitchen Remodeling Frequently Asked Questions
How long does a typical kitchen remodel take from start to finish?
A typical NYC kitchen remodel timeline is 6 to 12 weeks to complete, depending on the project’s scope. Small, cosmetic updates can wrap up in 3 to 4 weeks, while a full structural renovation involving custom cabinetry, layout changes, and new plumbing or electrical lines can take up to 3 months.
Can you live in your house during a kitchen renovation?
Yes, you can live in your home during a kitchen remodel, but you should prepare for significant disruption, noise, and dust. Most homeowners choose to set up a temporary kitchen area in an adjacent room to cook simple meals. However, if your project involves a total gut-rehab or structural wall removal, relocating for the most intensive construction days is highly recommended.
What should you do first when planning a kitchen remodel?
The very first step in planning a kitchen remodel is defining your functional goals and establishing a clear budget breakdown. Before buying materials or hiring a contractor, map out your must-haves, identify your kitchen’s current layout pain points, and set aside a 10% to 15% financial contingency fund for unexpected structural or permit issues.
Do I need a permit to remodel my kitchen in NYC?
Yes, you will need municipal building permits if your kitchen remodel involves structural changes, moving appliance footprints, or updating electrical and plumbing infrastructure. Minor aesthetic swaps, like changing cabinet doors or painting, typically do not require permits, but comprehensive renovations in New York City must adhere strictly to local building codes to avoid fines.
What products or materials should you buy first for a kitchen remodel?
You should always research and select your major appliances before finalizing your kitchen design or ordering cabinets. Appliance dimensions, venting requirements, and technical specifications dictate the exact layout of your plumbing, electrical wiring, and custom cabinetry openings, preventing costly structural mistakes later.

Adam Blake
Adam Blake is Design Manager at MyHome Renovation Experts, known for blending smart space planning with timeless design. With hands-on experience guiding homeowners through renovations, he understands how to transform kitchens and living spaces into highly functional, beautifully crafted environments.
Related Posts
Wet-Over-Dry Rule NYC: Bathroom and Kitchen Relocation Guide
If you’ve ever dreamed of doubling the size of your primary bath or moving your...

NYC Landmark Renovation Guide: How LPC Approvals Work
For many New York City homeowners, the word “Landmark” evokes images of red tape and...

The Impact of Square Footage on Bathroom Renovation Costs: A Comprehensive Analysis
Embarking on a bathroom renovation project is an exciting endeavor for any homeowner, but it...